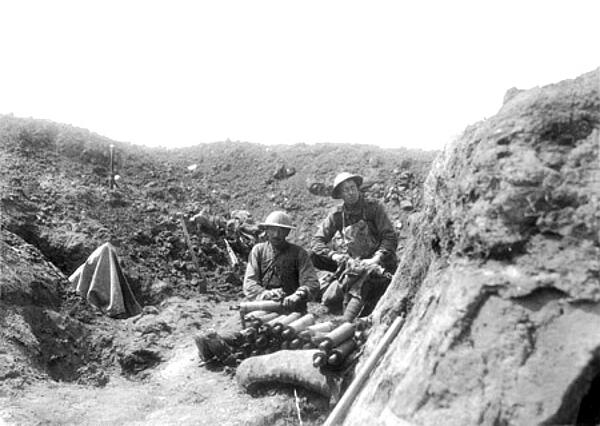
Second Bullecourt
The first Bullecourt battle was followed quickly by the second, which drew on many of the errors of its predecessor - including lack of preparation and poor communication - to ensure it was a greater success.
After suffering heavy casualties in the first battle, Australia’s 4th Division was replaced by its 1st at the second Bullecourt battle, having be based just a few miles south of the village.
The Germans initiated the second battle when they launched a major offensive on 15th April 1917. Four German divisions attacked along a six-mile line but they were countered by the 1st Division, who had created good defences.
General Nivelle followed this action by launching his attack on Chemin des Dames on 16th April. Unfortunately, the unrest caused by the attack led to 30,000 French troops deciding to mutiny and the attack was a failure. However, the failure of the Nivelle Offensive meant that British senior commanders started to constrain their future plans to ensure they were attainable and limited in scope.
In spite of this, the Allied forces planned a large attack across the whole of Vimy Ridge, which was due to involve 14 divisions from the First, Third and Fifth armies. With Bullecourt located to the right of the ridge, the battle that became known as the Second Bullecourt began on 3rd May.

The Australians were supported by the 62nd (West Riding) Division during they attack and were set to receive artillery support. In the week leading up to 3rd May, Bullecourt was decimated and the wire protecting much of the German lines was for the most part destroyed.
The 2nd Australian Division and 62nd Division were ordered to capture OG1 and OG2 (trenches along the Hindenburg Line near Bullecourt) and were then ordered to advance to the Fontaine-Moulin Sans Souci Road. From there, the 62nd would attack the village of Hendecourt while the 2nd Division would attack Riencourt - both of which lay around 2,000m from Bullecourt.
The 62nd proceeded with tank support while the 2nd used the traditional creeping barrage from artillery. As both advanced, they planned to meet in the middle.
The attack began at 03:45 and by 04:16 OG1 and OG2 were captured. By 05:45, the Australians had also managed to reach Fontaine-Moulin Sans Souci Road and were just 400m from Reincourt.
The 62nd Division managed to reach Bullecourt but the rubble caused by the British artillery had made it difficult for them to see the German troops. By 16:00, the British were run out of the village and eight tanks were destroyed.
At 08:50, the Germans launched a counter-attack against the Australian positions. With the 62nd unable to support them, the decision was made for the Australians to be withdrawn from their positions under the cover of artillery fire. Unfortunately, the artillery landed 200m short and dropped on the Australians. It took 30 minutes to get the survivors back to the trenches.
A night attack was also made on Bullecourt by the Allies but this failed and another was ordered for 04:30 on 4th May. It was a temporary success but the Germans launched another successful counter-attack shortly afterwards.
An additional attack was planned for 7th May. While major gains were made around Bullecourt, the village was not actually captured and the Germans counter-attacked once more on 15th May. Thankfully, their gains were temporary and two days later the Australians made another attempt to capture Bullecourt only to find the Germans had withdrawn. Bullecourt was captured.
The Australians lost 7,000 men at the Second Bullecourt, far fewer than the Somme and fewer than the 10,000 men lost by the Germans. However, the battles did a lot to undermine the Australian confidence in British military command for the remainder of World War One.
MLA Citation/Reference
"Second Bullecourt". HistoryLearning.com. 2024. Web.
